Python is a popular programming language that is widely used for web development, data analysis, scientific computing, and artificial intelligence. It is known for its simplicity, readability, and flexibility, which makes it a great choice for beginners as well as experienced programmers. In this tutorial, I will guide you through the process of installing Python on a Windows PC.
Step 1: Download Python
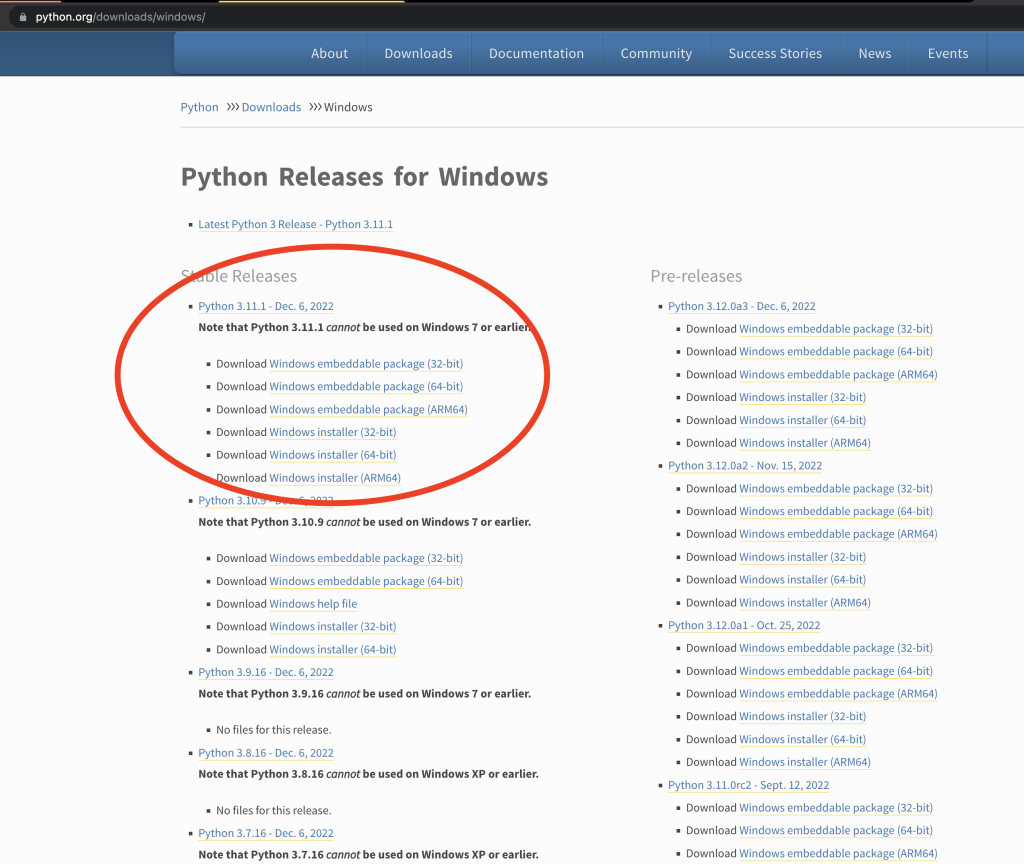
The first step is to download the Python installer from the official website. Go to https://www.python.org/downloads/windows/ and you will see a list of available Python versions. From there choose your preferred version or if you do not have any idea about it then choose one from the ‘Stable Releases‘ section and the latest one is recommended in that case. Download the based on your system architecture.
Step 2: Run the Installer
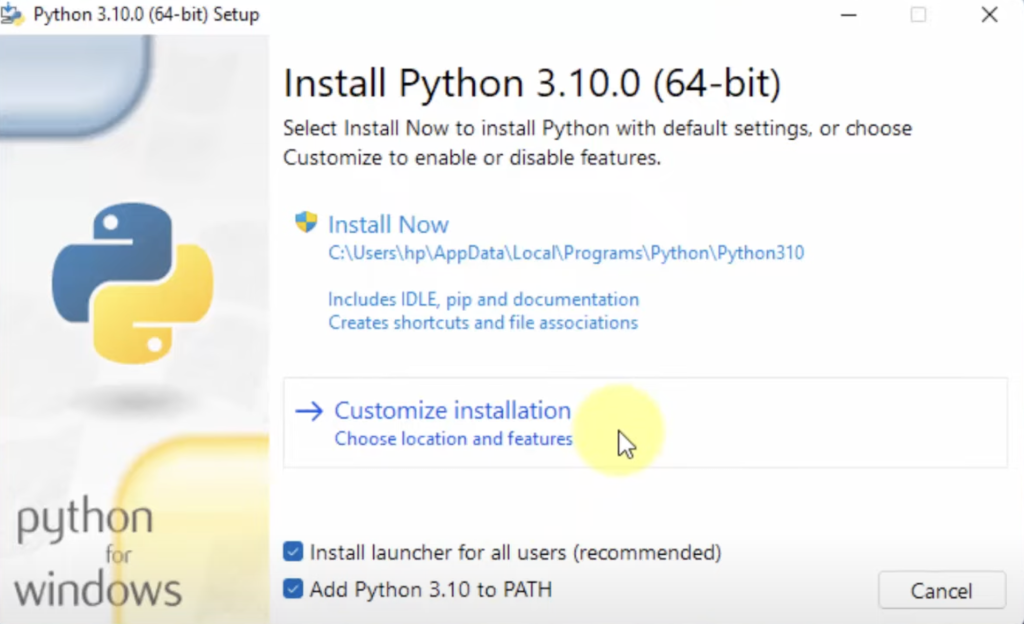
Once the download is complete, double-click on the downloaded file to start the installation process. A window will appear like the image below. Don’t forget to put a tick in the ‘Add Python 3.* to PATH‘ option as it will allow you to access Python from any directory/folder in your computer. You can click on ‘Install Now‘ to get straight forward installation but I am choosing ‘Customize installation‘ to show you more options
Step 3: Customize the Installation
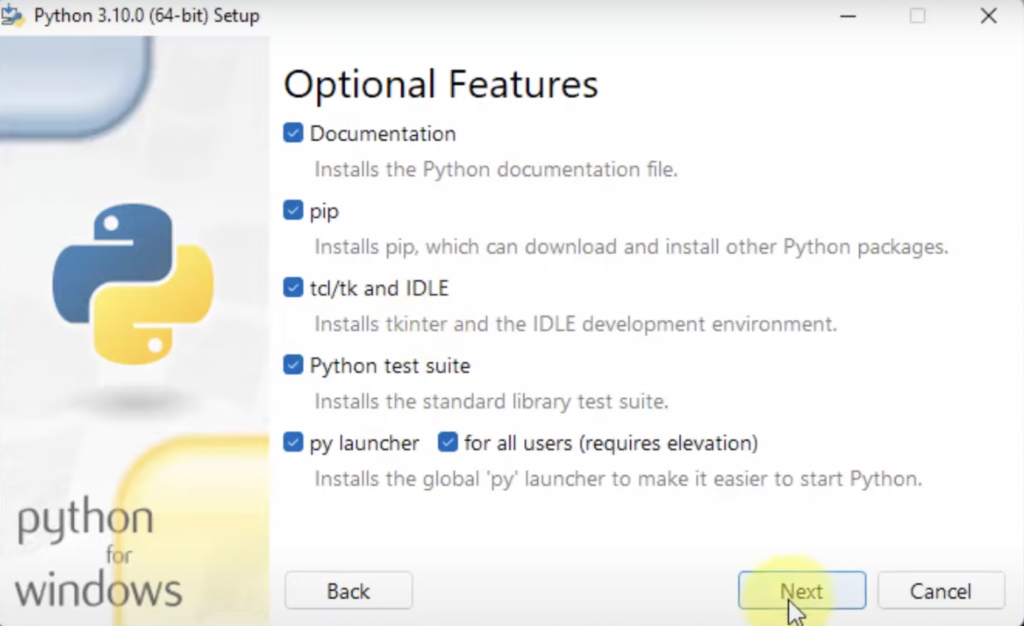
In the next window, you won’t have to do anything, all the options should be selected. So move to the next screen by clicking on the ‘Next’ button.
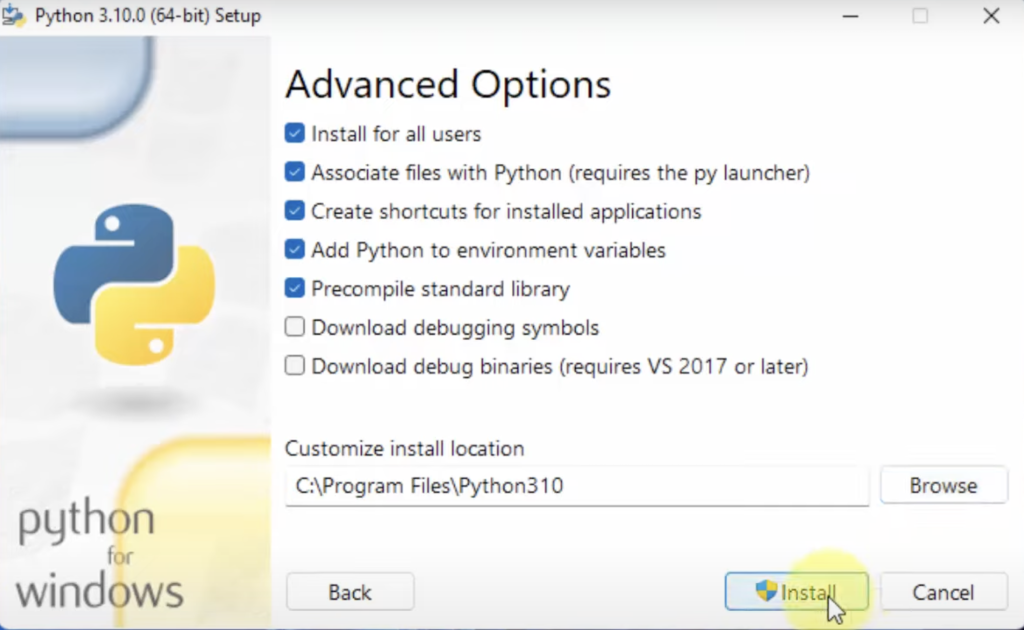
Now will see the ‘Advanced Option‘, you will have to enable the ‘Install for all users‘ option here. Clicking on this option would change the installation path automatically but you can change it at your convenience. Now click on the “Install” button and it will start installing Python on your computer.
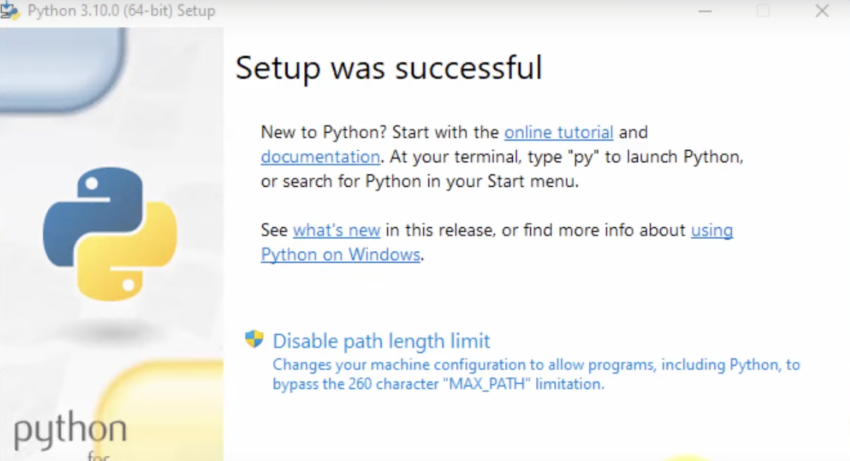
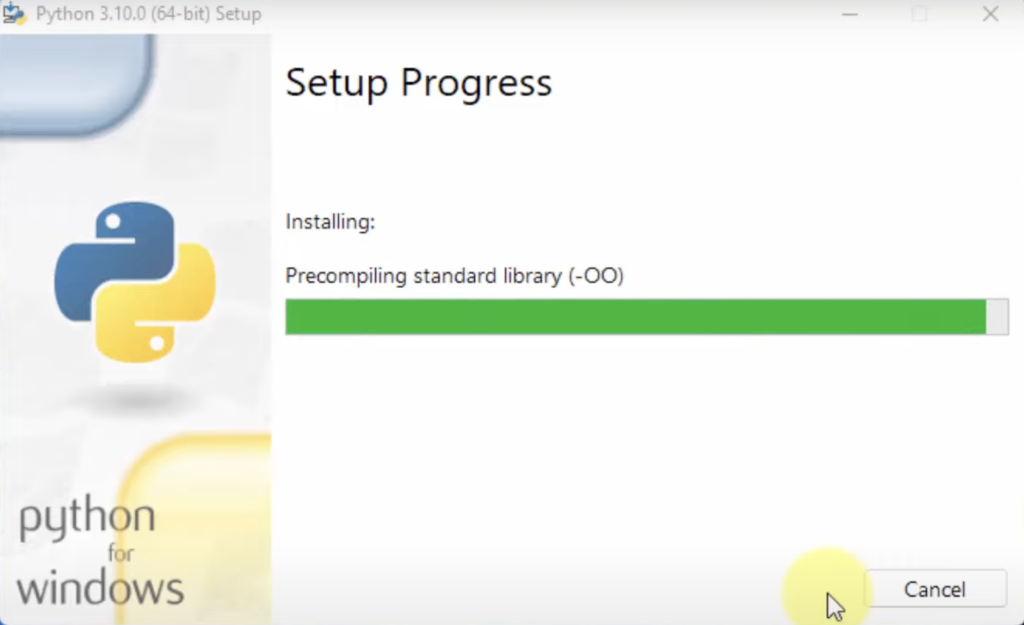
The next screen will show you the setup progress and after that, you will see the successful setup message.
Step 4: Finish the Installation
Once the installation is complete, you will see a window with a “Close” button. Click on the “Close” button to finish the installation.

Step 5: Test the Installation
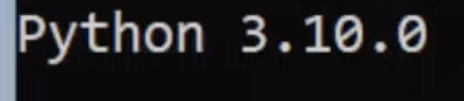
To test the installation, open the Command Prompt by going to Start > All Programs > Accessories > Command Prompt or just search for ‘cmd‘ from the start menu. In the Command Prompt, type “python --version” and press Enter. If the installation was successful, you will see the Python version as output, which looks like this:
Congratulations! You have successfully installed Python on your Windows PC. You can now start using Python for your programming projects.
I am a Software Engineer, an entrepreneur, and a problem solver who loves to talk about tech, business, and side hustles. Love traveling, reading books, and trying to maintain a healthy life. To know more about me, click on the icons below